A mug that comes off the wheel on November 1 has a good chance of ending up under someone's tree. The same mug on December 15 does not, no matter how fast you fire it. Clay keeps its own calendar, and the schedule below works backward from a shipping deadline rather than forward from a burst of late-November enthusiasm.
Start With the Date You Have to Mail
Pick the ship date before you touch clay. If you're mailing domestically, boxes should be out the door by the first week of December; carriers get slower every day after that. For international gifts, count on mid-November, since customs can add days you don't control. Working back six weeks puts you at the last week of October for the first wedging.
Here's how those six weeks actually divide:
- Weeks 1–2: Forming, trimming, handles, surface texture.
- Week 3: Slow drying and the bisque firing.
- Week 4: Glazing.
- Week 5: Glaze firing, cooling, and cleanup.
- Week 6: Packing, shipping, and local delivery.
That's five working weeks with one in reserve. Don't spend the reserve. It exists for the handle that cracks off in the bone-dry stage, the kiln element that quits, the glaze that crawls on the rim of your best bowl. Something always eats a week, and it's much easier to give up a week you never needed.
Weeks 1 and 2: Forming and Trimming
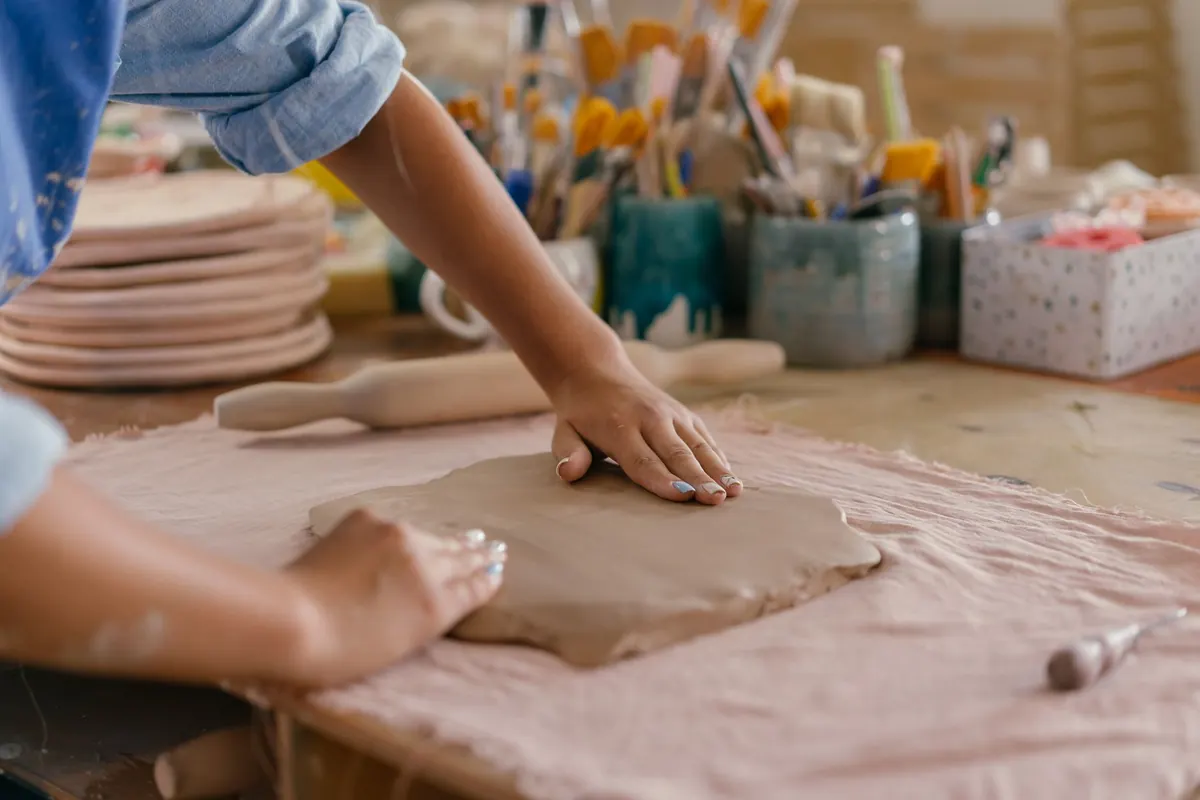
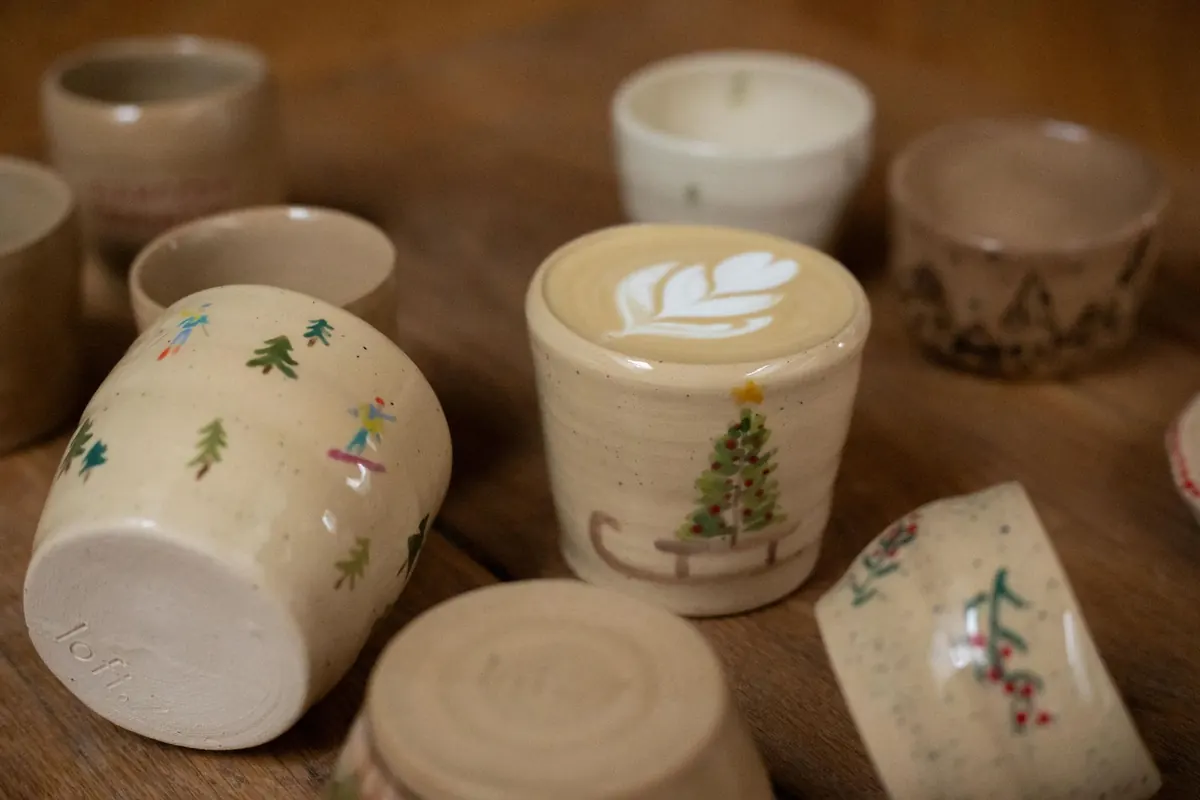
Production pottery is a different sport from studio play. Choose three or four forms and repeat them. Eight mugs, six small bowls, four bud vases, and a stack of ornaments reads as a generous gift set; fifteen unrelated experiments just reads as slow.
Make extras. If you need eight mugs, throw twelve. Losses come from every direction: a rim that won't clean up, a handle that won't stay, a glaze that pinholed. Spares also give you room to keep the best ones and set the rest aside for next year's stash.
Trim at leather hard, not bone dry, and attach handles when the pot and the handle are at the same moisture. Wrap finished greenware loosely in plastic and stack it somewhere out of the way. A production notebook with the date, form, and clay body takes thirty seconds and saves you from guessing what's dry and what isn't.
Week 3: Drying Slowly, Then Bisque
Drying is where holiday deadlines go to die. Thick bottoms, uneven walls, and cold drafts cause cracks that don't show up until after the bisque firing, when it's too late. Keep pieces covered with plastic for the first few days, then peel the plastic back a little at a time. Flip larger forms upside down once they're firm enough to hold their shape so the base dries as fast as the rim.
Before bisquing, run the kiln at a low temperature with the lid propped to drive off the last of the chemical water. Rushing this stage is the single most common cause of exploded pots. A slow ramp costs you a few hours; a blown-up load costs you a week.
Bisque to cone 04, then let the kiln cool on its own. Opening the lid at 400°F to see how things look will crack what the firing didn't. Plan for the kiln to be unavailable for a full day, not an afternoon.
Week 4: Glazing Without Surprises
Holiday gifts are not the moment to test a new glaze. If you want to try something unfamiliar, do it on test tiles in October and keep the results next to your kiln. Gift work should use combinations you've already fired at least twice.
A few habits keep this week short:
- Wax the foot ring before glazing, or wipe the bottom clean with a damp sponge after.
- Leave the very bottom unglazed so the pot doesn't fuse to the kiln shelf.
- Keep glaze thickness consistent — measure with a glaze gauge or note how many dips it took last time.
- Let glazed ware dry completely before loading. Damp glaze steams and pops.
- Load the kiln the same day you glaze if you can, so nothing gets knocked over on a shelf.
Week 5: The Glaze Firing and Inspection
A mid-range glaze firing to cone 6 takes most of a day, plus an overnight cool. Even if the kiln reads 200°F, the pieces inside are still under stress. Wait until morning.
Unload with a critical eye. Sand rough foot rings with a diamond pad, check that rims feel smooth against a lip, and set aside anything with a sharp edge or a crack. A small chip on the bottom of a bowl is fine; a hairline crack on a mug is not something you hand to a friend.
Count your finished pieces against your gift list on the same day. If you're short, this is the moment to decide whether to substitute, buy something, or start one more small batch — not the week you're supposed to be at the post office.
Week 6: Packing, Shipping, and Delivering
Ceramics break in transit for predictable reasons: movement, thin padding, and single-box shipping. Wrap each piece in bubble wrap and tape the wrap closed so it can't unwind. Then box it, and box that box again with at least two inches of cushioning on every side. Shake the outer box. If anything shifts, add more padding.
Mark the outside clearly, include a note inside with your return address, and pay for tracking. For local gifts, hand delivery solves everything — carry them in a shallow box with towels between layers rather than a tote bag where they can clink.
If You're Already Behind
Scale down rather than hurry. Four well-made ornaments, a set of six tumblers, or a single serving bowl will land better than a rushed dozen with cracked handles. Small flat forms dry fastest, and ornaments and spoon rests can go from wheel to wrapped gift in under two weeks if you keep the walls thin and the glazing simple.
And when January comes, write next year's dates in the notebook now: first week of production, bisque day, glaze day, ship day. The potters who make holiday gifts without panic aren't faster. They just start when the clay tells them to.
Photo: Raymond Petrik / Pexels