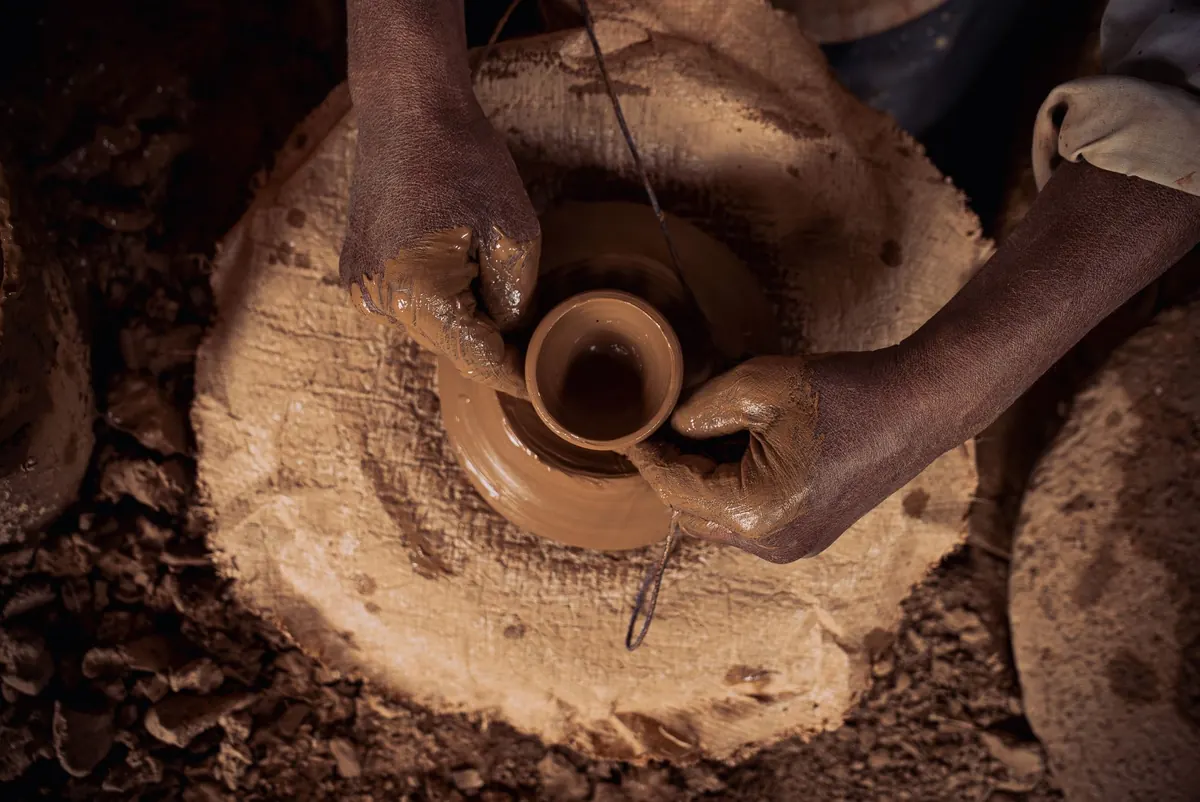
Clay rewards beginners more than most materials do. A wall that slumps can be pushed back into shape. A rim that cracks at leather hard can be dampened, scored, and repaired. And you don't need a wheel, a studio membership, or a kiln of your own to make real, useful pots.
Three handbuilding methods cover almost everything a new maker wants to produce: pinch, coil, and slab. They all lean on the same handful of skills — controlling wall thickness, managing moisture, and joining clay so the seam holds. Here's how each one works, what to make first, and where beginners usually go wrong.
Setting Up Before You Touch the Clay
Buy a smooth, forgiving clay body. A mid-fire stoneware or a fine-grain earthenware is easier to shape and less likely to crack than a heavily grogged sculpture clay. A 10 kg bag will keep you busy for weeks if you recycle your failures.
Learn four words first, because every instruction you read will use them:
- Plastic — soft, fresh, easy to shape
- Leather hard — firm enough to hold its shape, cool and slightly dark to the touch, the best stage for joining and trimming
- Bone dry — pale, chalky, no longer cool; ready for the kiln
- Slip — clay mixed with water to a cream consistency, used as glue
Your kit can fit in a shoebox: a wooden board or canvas-covered surface, a bowl of water, a sponge, a fork or needle tool for scoring, a wooden rib for smoothing, and a plastic bag for keeping work damp between sessions. Wipe surfaces with a wet sponge rather than sweeping — airborne clay dust is the one genuine health concern in a home setup, and keeping clay wet solves it.
Pinch Pots: The Fastest Way to Learn the Wall
Roll a ball of clay about the size of a plum. Press your thumb into the centre, stopping roughly a centimetre from the bottom. Then pinch between thumb and fingers, rotating the ball steadily, working from the base upward in rings rather than squeezing one spot repeatedly.
Aim for a wall around 6–8 mm thick. Beginners almost always go too thin, too fast. If the rim starts to split or the wall tears, stop and let the pot rest for twenty minutes — the clay firms up and you can continue without fighting it.
Useful first projects: a spoon rest, an olive dish, a candle holder, or a small plant pot. For a closed form, pinch two pots and join the rims together. Flatten the base by tapping the pot on the table while it's still soft, and smooth a ragged rim with a damp fingertip once it has firmed.
Coil Building: Rope, Score, Blend, Repeat
Coiling is how you build tall or wide pieces without a wheel. Start with a base — a flattened slab or a shallow pinch pot — and let it firm up to leather hard. Then roll coils by placing a lump of clay on a smooth surface and rolling outward from the centre with a flat palm. Roll a little longer than you need, then pinch the ends.
Attach each coil the same way, every time:
- Score the top edge of the pot with a fork or needle tool
- Paint on slip made from the same clay body
- Press the coil into place with a gentle wiggle
- Blend the join inside and out using your thumb and a wooden rib
Then stop. This is the part beginners skip. If the wall starts to feel soft or the pot wobbles, walk away and let it firm to leather hard before adding the next coil. A coil pot that slumps at coil six means coil five went on too early. Scrape the finished surface with a rib to even out the ridges, or leave them visible as texture.
Slab Building: Flat Pieces, Clean Edges
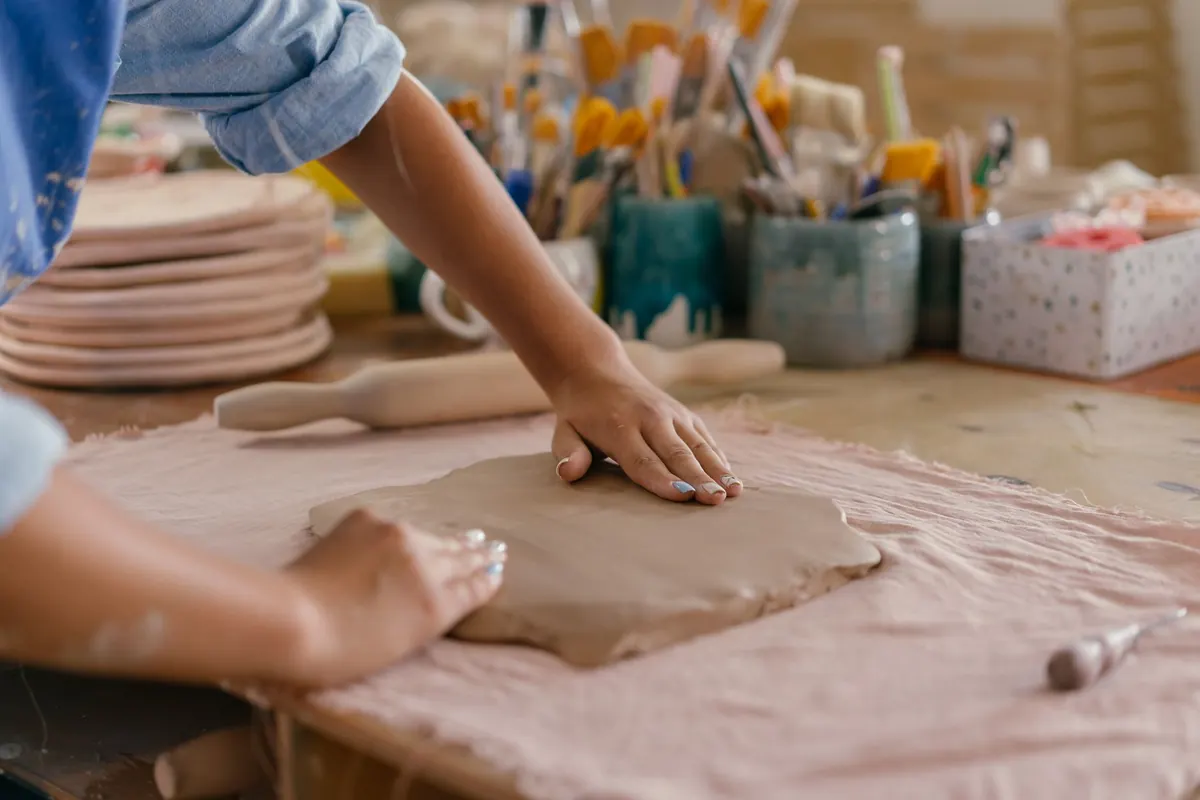
Slabs give you straight lines and consistent thickness. Roll them between two dowels of equal diameter — 8 mm works well for most beginners — and rotate the clay a quarter turn between passes so it doesn't stretch in one direction. Patting a slab flat by hand works too, if you keep it thick and even.
Let the slab firm up to leather hard on a board before cutting. Paper or card templates make this far easier than freehand cutting. Cut with a needle tool and tidy the edges with a knife or rib while the clay is still workable.
Two approaches to try:
Soft slab
Drape it over an upside-down bowl (a hump mold) or press it into a bowl lined with cloth (a slump mold). Trim the rim when it reaches leather hard. This makes serving dishes and shallow bowls with almost no measuring.
Leather-hard slab
Cut precise panels and join them into boxes, mugs with a seam, or planters. Slabs joined warm and wet can warp, so letting them firm slightly first gives cleaner results.
Joining Clay So It Stays Joined
Every handbuilding failure I've seen comes back to two things: not scoring enough, and joining pieces at different moisture levels.
The drier piece wins. If you press soft clay onto bone-dry clay, the join will crack — every time.
Match the stages. Wet-on-wet is fine for soft slabs. Leather-hard to leather-hard gives the strongest bond. Coils attach most reliably when the pot is firm but the coil is fresh. A handle added at bone dry will simply fall off after firing.
Once joined, wrap the piece loosely in plastic if you can't finish it in one sitting. And if you're working in a shared space or kitchen, never wash clay down the sink — it sets in the pipes.
Drying, Firing, and What Comes Next
Dry finished pieces slowly, upside down where possible, away from draughts, radiators, and cold floors. A pot that dries too quickly will crack, and there's no repairing it. When the piece is bone dry, it's ready for a bisque firing, then glaze and a glaze firing.
No kiln? Look for a local studio, community centre, or college that fires work for a fee. Ask which clay bodies they fire, and take a test pinch pot along before committing a bigger piece. Keep a notebook of clay body, wall thickness, and what survived — that record will teach you more than any tutorial. Then make twenty more pinch pots. Speed comes from repetition, and the first one you actually keep will feel like a small miracle.