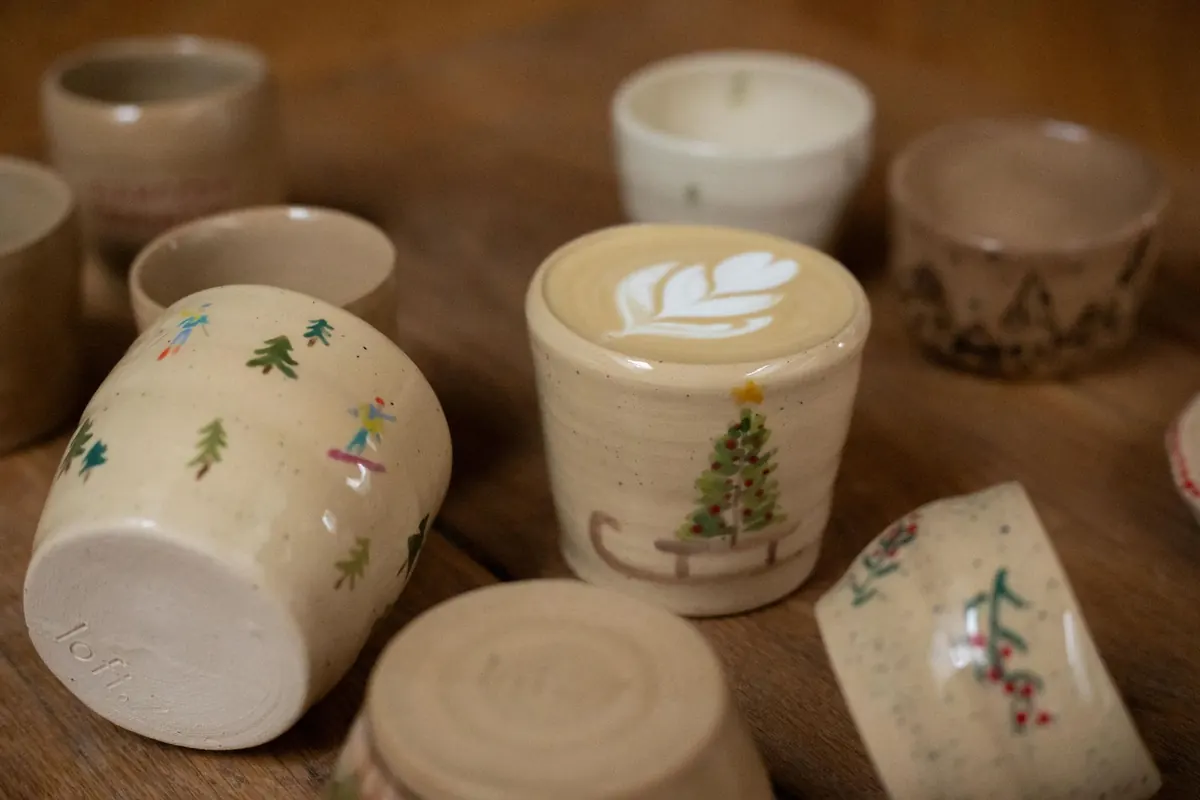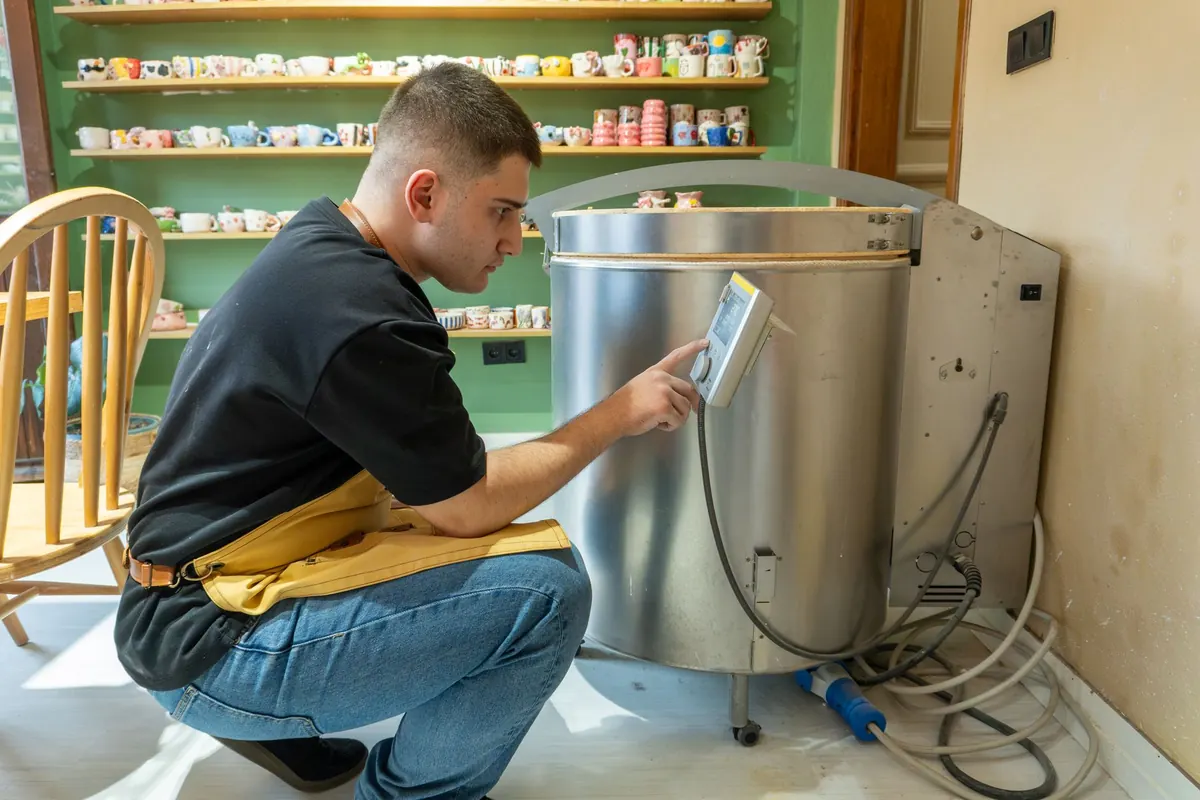
A pot can survive a single trip through the kiln, but most studio potters send it through two. The first firing turns soft greenware into a hard, porous object you can pick up, sand, and glaze. The second melts that glaze into glass. From the outside the firings look nearly identical; inside, they do completely different work.
Why Two Firings Instead of One
Single firing — glazing raw greenware and taking it to temperature once — is a legitimate technique, and some potters prefer it. It saves fuel and a day of waiting. It also asks you to glaze bone-dry clay without snapping a rim, and it demands that your glaze melt at the same moment your clay body goes through its most dramatic changes.
Two firings split that risk. The bisque firing handles water, burnout, and shrinkage; the glaze firing handles melting, bonding, and vitrification. Each stage gets its own ramp and soak, so when something goes wrong you can usually tell which firing caused it.
What Bisque Firing Is Actually For
A bisque firing does four jobs: it drives off the last of the physically and chemically bound water, burns out organic material, sinters clay particles so the piece holds its shape, and leaves the body porous enough to accept glaze.
That porosity is the point. A good bisque behaves like a sponge: dip it in glaze slurry and water pulls into the clay, leaving a thin, even coating of glaze material behind. Fire the bisque too hot and those pores close, the glaze slides off in sheets, and you spend an evening chiseling glaze off a shelf.
Most studio bisque firings land between cone 06 and cone 04, roughly 1828°F to 1945°F (1000–1065°C). They tend to be slower and gentler than the glaze firing that follows, and for good reason.
The Bisque Firing, Stage by Stage
Temperatures are approximate for a typical electric kiln; your clay, the mass of the load, and the kiln itself will shift them.
- Water smoking, up to about 200°F (95°C). The last visible moisture leaves. This is the stage that explodes pieces which weren't quite dry, and it's why a candle soak at the start pays for itself.
- Chemical water and early burnout, roughly 600–1100°F (315–600°C). Water locked into the clay's structure finally leaves and organics begin to burn off. After this, the clay can never return to plastic.
- Quartz inversion, around 1063°F (573°C). Silica changes crystal structure and expands abruptly inside the range above. Fast heating or cooling here is a common cause of hairline cracks and dunting.
- Carbon burnout, roughly 1100–1650°F (600–900°C). Carbon and sulfur compounds burn away. Ventilate the room; bisque smoke isn't something to breathe.
- Sintering, about 1650°F (900°C) to the top of the firing. Clay particles fuse where they touch, and the piece starts to ring when tapped instead of thudding.
What Glaze Firing Is For
A glaze firing takes the glazed bisque up to the point where the glaze melts, wets the clay, fuses to it, and freezes into glass as the kiln cools. At the same time the body matures: it vitrifies to whatever degree it was designed for, closing much of its remaining porosity and reaching its final strength, color, and shrinkage.
Glaze temperature isn't one number. It's whatever your clay and glaze were paired for:
- Low fire: cone 06 to 04, roughly 1828–1945°F (1000–1065°C). Terracotta, earthenware, the brightest commercial palette. The body stays porous, so functional ware usually needs a liner glaze.
- Mid range: cone 5 to 6, roughly 2167–2232°F (1186–1222°C). The workhorse zone for studio electric kilns and durable functional pottery.
- High fire: cone 9 to 10, roughly 2300–2381°F (1260–1305°C). Stoneware and porcelain. Dense, tough, and hard on elements, shelves, and kiln furniture.
Low-fire glaze temperatures overlap bisque temperatures, and that isn't a mistake. A low-fire body matures low, so both firings live in the same neighborhood. What separates them is what's in the kiln, not just how hot it gets.
Matching the Two Firings
The rule that keeps most potters out of trouble: glaze fire to the temperature your clay body was made to mature at, and bisque comfortably below it.
- Low fire: bisque to cone 06 or 05, glaze fire to cone 05 or 04.
- Mid range: bisque to cone 05 or 04, glaze fire to cone 6.
- High fire: bisque to cone 04 or 03, glaze fire to cone 9 or 10.
That gap matters. Bisque too cool and the clay stays fragile, releases gas late, and can blow bubbles through your glaze. Bisque too hot and the surface closes up, glaze adhesion suffers, and a mid-range body may already be partway to vitrification before the real firing begins.
Glaze fit is the other half. A glaze that fits has slightly lower thermal expansion than the body, so as everything cools the glaze sits in gentle compression — that's what makes it durable. Glaze fit is a materials question rather than a temperature one, which is why the same glaze can look perfect on one clay and craze in a fine web of lines on another.
Reading the Results
Most two-fire problems leave a fingerprint that points back to one firing.
- Glaze flakes off dry bisque before it reaches the kiln: the bisque is too smooth or too dusty. Wipe with a damp sponge and bisque a cone cooler next time.
- Pinholes and blisters: gas escaping through melting glaze. Usually a rushed bisque, thick glaze, or a finish that needs a slower ramp and longer soak.
- Crazing, that fine web of cracks: a glaze-fit problem, typically a glaze with higher expansion than the body.
- Cracks hours after unloading: cooling too fast through quartz inversion. Hold the cool-down, especially between 1100°F and 900°F (600–480°C).
Setting Up Your Own Two-Fire Cycle
Here's a routine that works in a small electric kiln and scales from there:
- Dry greenware until it's room temperature to the touch — days, not hours, for thick pieces.
- Load bisque with pieces not touching, on kiln-washed shelves. No stilts needed yet; nothing is glazed.
- Candle at low heat for an hour or two, then ramp slowly to about 1100°F (600°C). Don't rush the water or the quartz.
- Finish to your bisque cone, then soak ten to twenty minutes to even out the kiln.
- Glaze the cooled bisque, wipe the foot ring clean, and leave a quarter inch of bare clay between touching pieces.
- Glaze fire to your body's maturity cone, soak at the end if the glaze needs to smooth, and let the kiln cool slowly with the lid closed.
Keep a log. Cones, ramp, soak, load, and one honest line about the result — three cycles of notes will teach you more about your kiln than any chart. Neither firing is mysterious once you know what it's for. The bisque prepares the clay; the glaze fire finishes the pot.
Photo: Onur Burak Akın / Pexels